InfinityOne - Desktop Installation and Setup
InfinityOne on your Mac, Windows, or Linux desktop is even better and more robust than InfinityOne on the web, with a cleaner look, tray/dock integration, native notifications, and support for multiple InfinityOne accounts. In fact, because the desktop application will allow the calls to stay active even when the InfinityOne window is closed, E-MetroTel recommends using the desktop version for most deployments where users will likely be making calls. The web based interface is still suitable for user where few or no calls are likely to occur, although because of the features like automatic log-in and native notifications, the desktop version offers superior overall user functionality.
The desktop application provides a better and more robust experience with a number of additional features over a web browser:
- Simultaneously connect to multiple InfinityOne servers
- Stay logged in, and continue to receive notifications, when you close the main window
- Application badges to easily see when you have outstanding notifications
- Native desktop notifications
- Configure the application to automatically start on system startup
- Remember the window's last position and restore on startup
- Plus more options...
E-MetroTel has made the installation of the desktop application simple and easy to perform by having it downloaded directly from the InfinityOne Server.
STEP ONE - Installation
Log into the InfinityOne server from a web browser to download the desktop client for your operating system. Once you have downloaded and installed the Desktop client, you will not be required to log in to the web browser interface again.
Access the Web Browser interface
Login and navigate to the Home page of the InfinityOne application.
The typical URL address would be: ' https://<Hostname of InfinityOne Server> ', then suffixed with ' :21326/home/ '.
For example: https://ucx.infinityone.app:21326/home/
Alternatively, for systems configured without an SSL Certificate, the URL address would be: ' http://<IP address of InfinityOne Server>/infinityone/home/ '.
For example: http://192.168.1.200/infinityone/home/
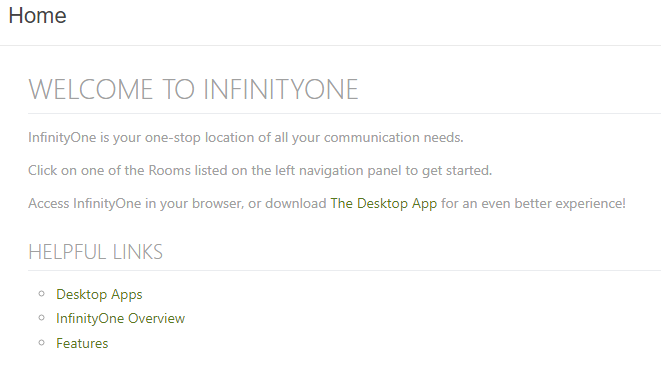
Under the HELPFUL LINKS section, click on the Desktop Apps link.
The system automatically detects your operating system environment and you will be presented with the InfinityOne download page specific to your operating system.

Click on the Download infinityOne for <your OS> button and the application will be downloaded into your default download directory.
From there it can be installed using the same process as any other application in that operating system environment.
STEP TWO: Connecting to a Server
When you open the InfinityOne Desktop Client for the first time, you will see a screen asking for your InfinityOne server address. Enter the ' host name:port number ' provided by your administrator and press the Connect button. (Your administrator may instruct you to use ' http://<ip address>:<port number >' instead.)

STEP THREE - Configure Settings
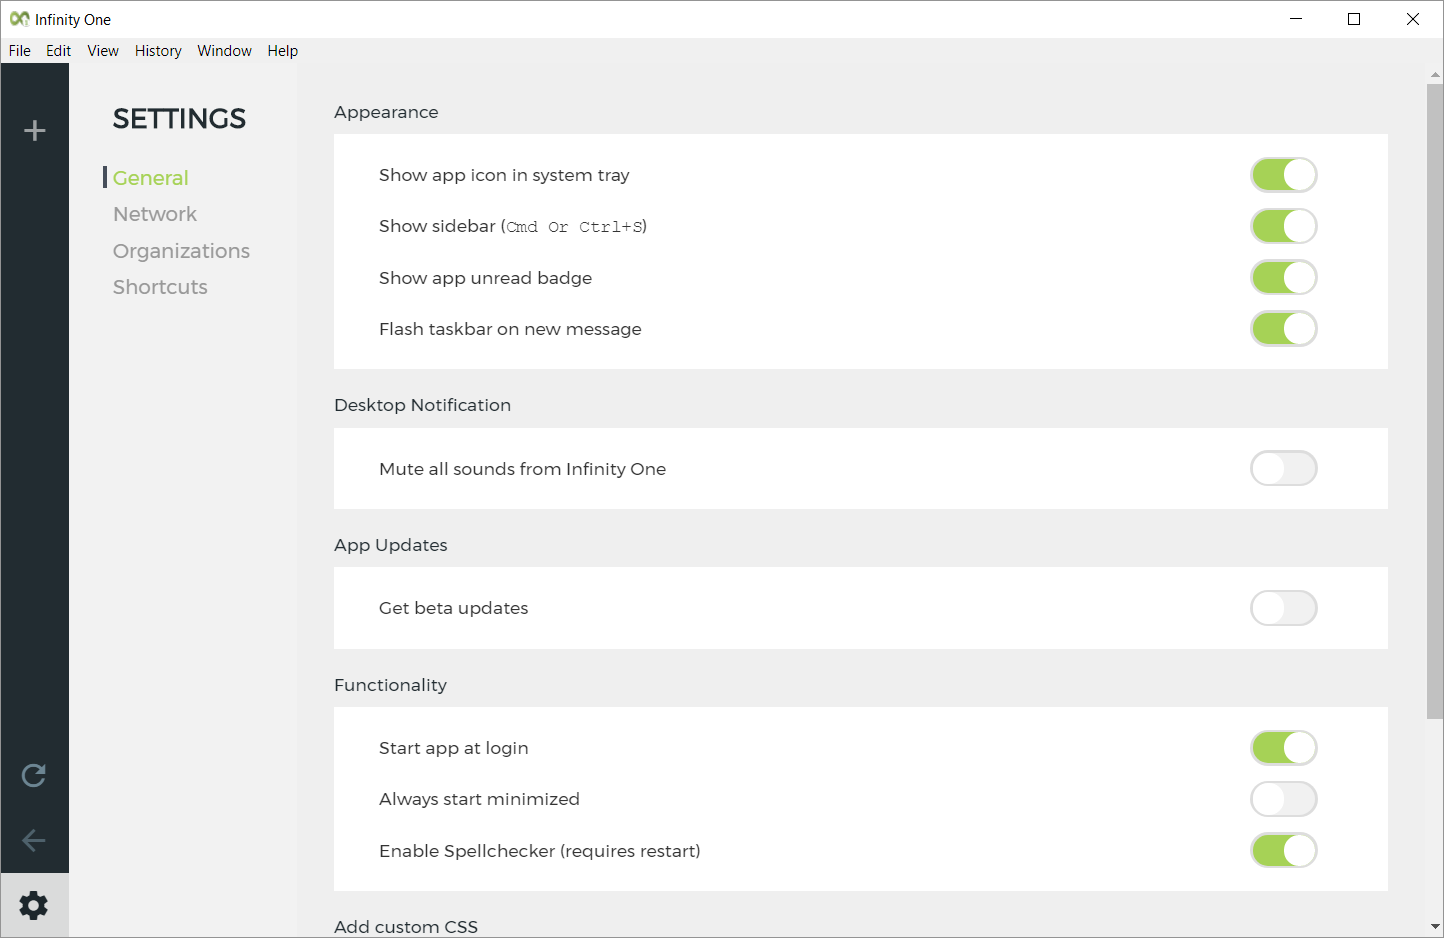
General
To modify your preferences, click the SETTINGS ![]() button and select General.
button and select General.
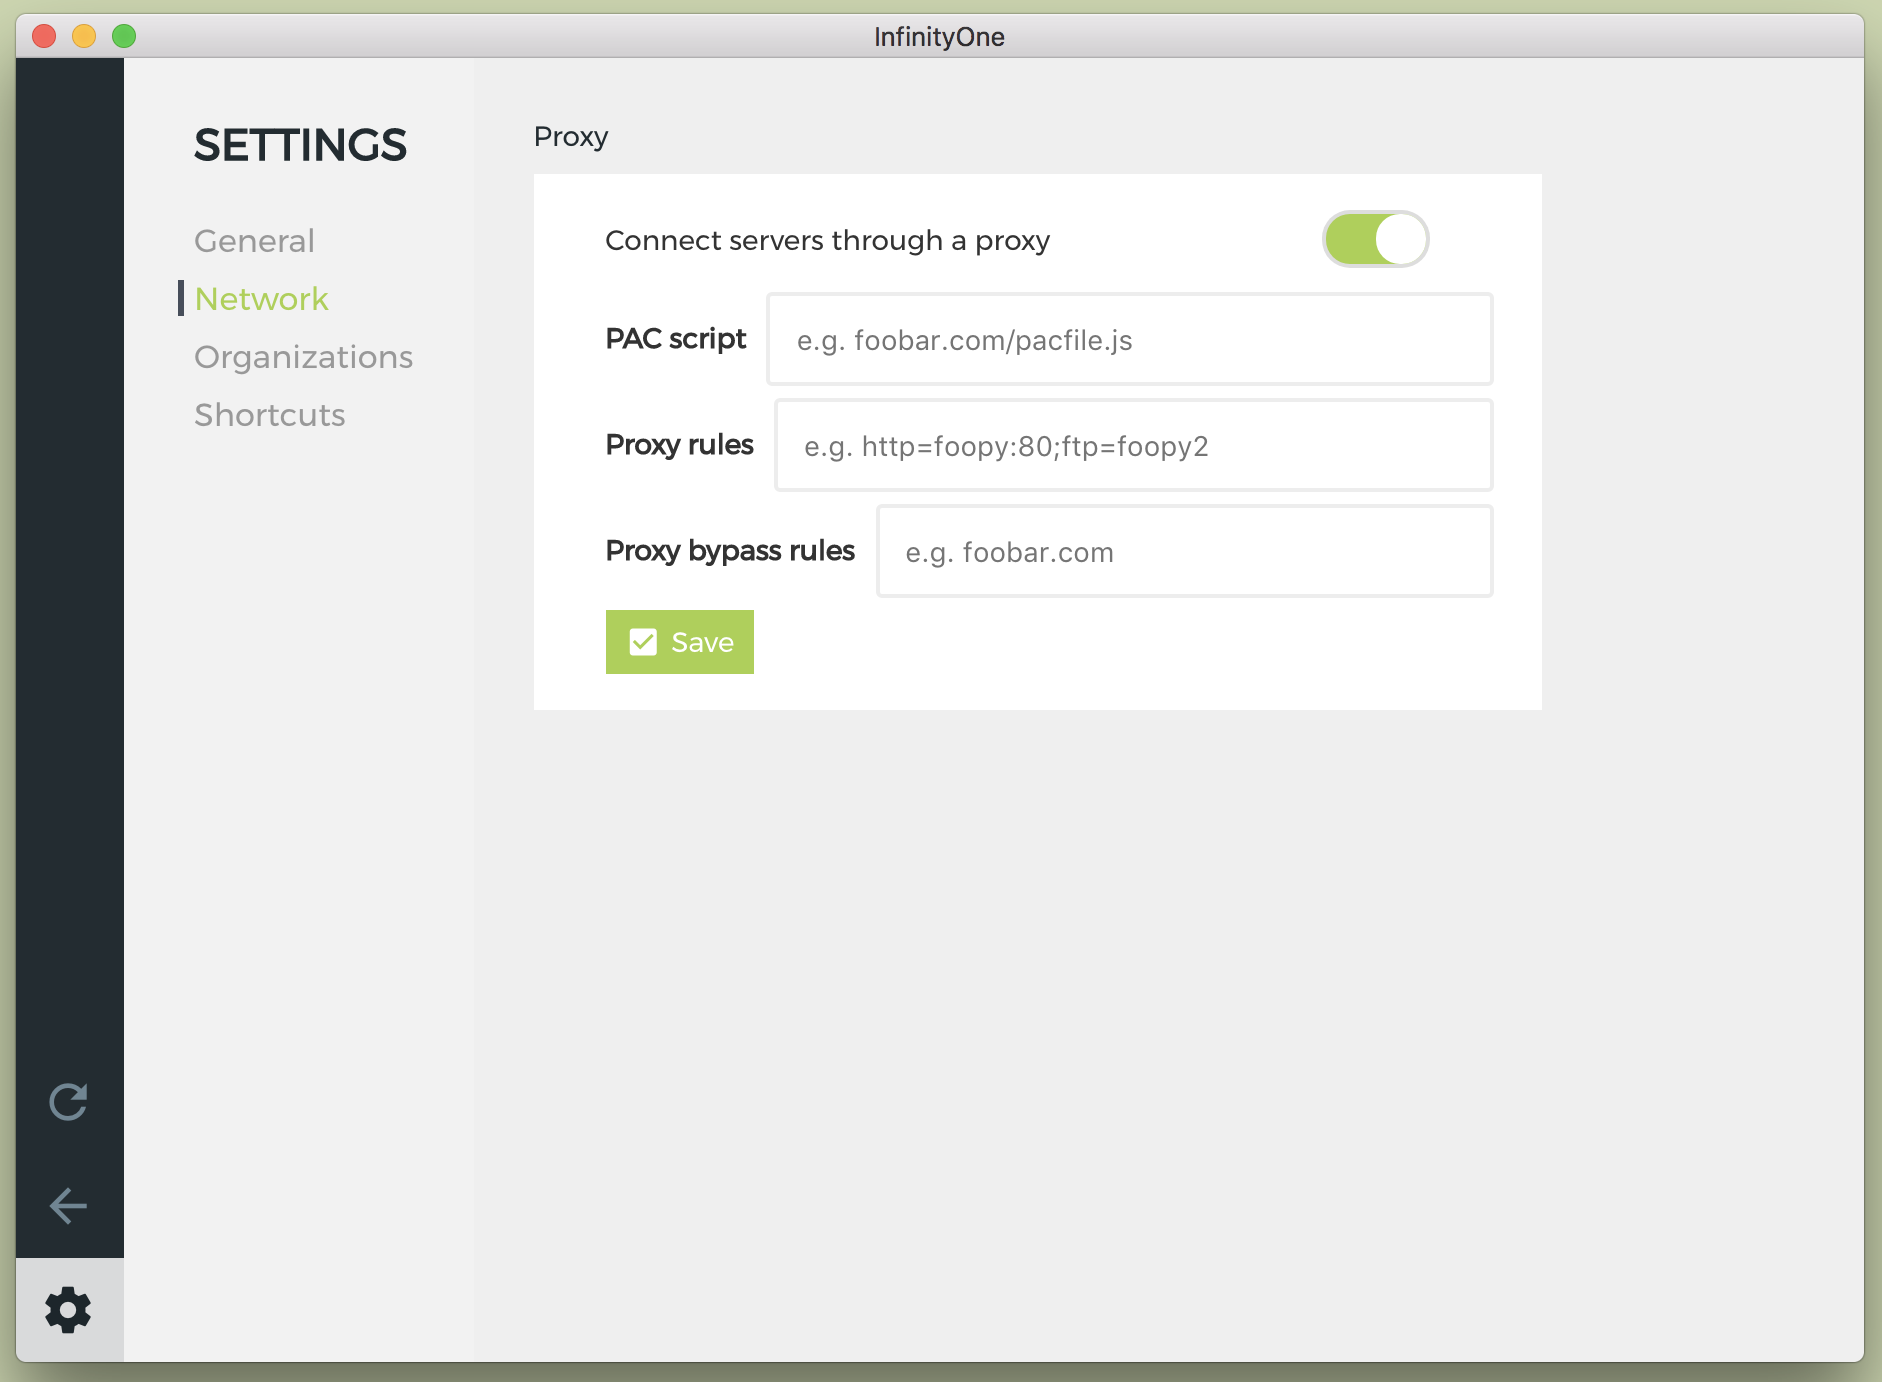
Network
To configure a proxy, click the SETTINGS ![]() button and select Network.
button and select Network.
Click the Connect servers though a proxy switch and enter the proxy information provided by your administrator.
Click Save to continue.
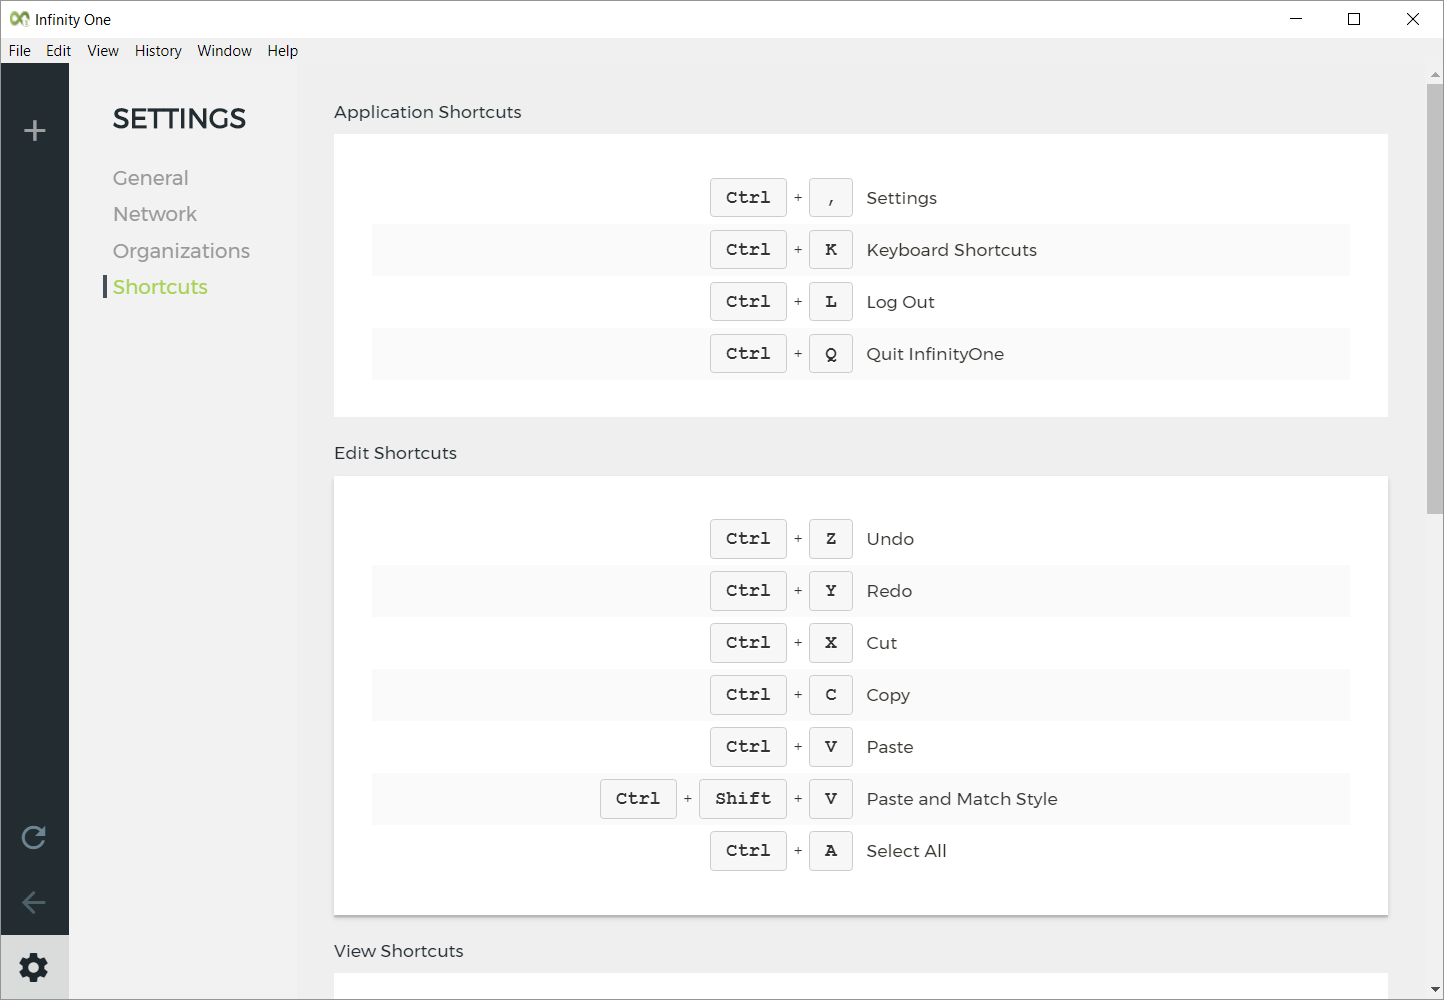
Shortcuts
The InfinityOne desktop application has a number of keyboard shortcuts for your convenience.
To view these shortcuts, click the SETTINGS ![]() button and select Shortcuts.
button and select Shortcuts.
Scroll through the list to review all the shortcuts available for your operating system.
STEP FOUR - Additional Information
Auto Updates
When the application is first started, it checks for a new version. If one is available, it will be automatically downloaded. Once downloaded, you will receive a pop-up message asking if you would like to update and restart the client.
Click the Install and Relaunch button to update immediately, or click the Install Later button to postpone the update.

Add a New Server
To add an additional server, click the add server ![]() button on the left sidebar.
button on the left sidebar.
This will present the Add Server page.
Enter the host name or IP address of the new server as in STEP TWO.
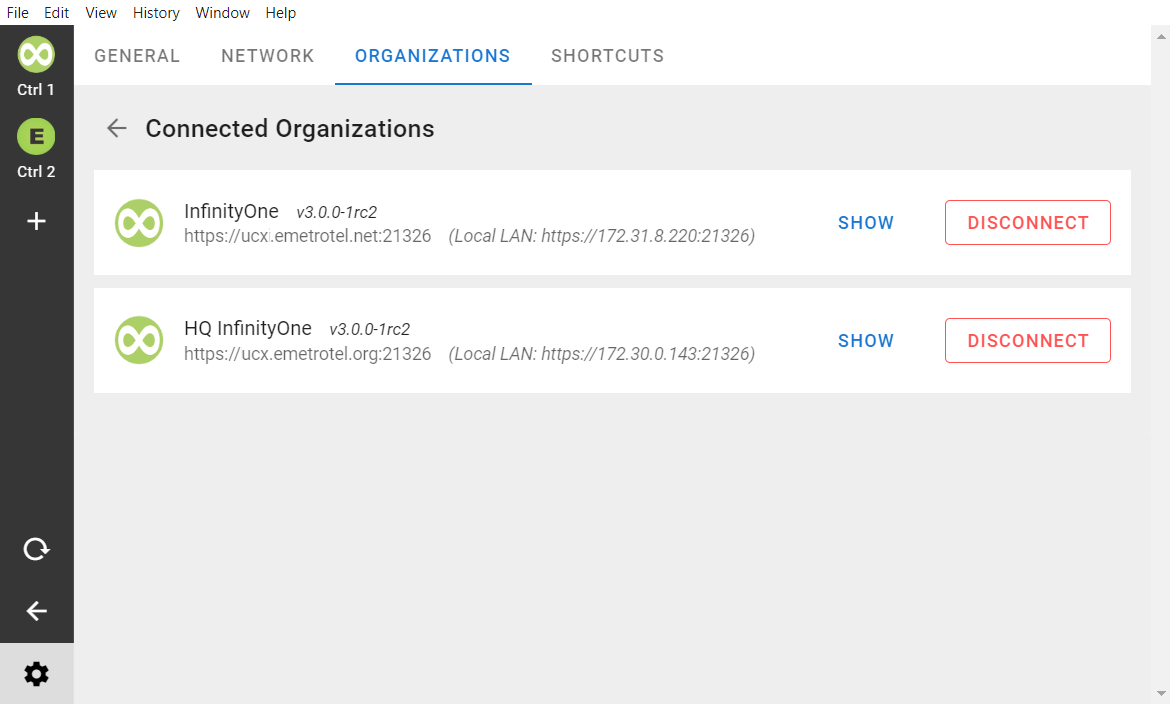
Remove a Server
To remove a server, click on the SETTINGS ![]() button, select ORGANIZATIONS.
button, select ORGANIZATIONS.
Click on the DISCONNECT button to remove the associated server.