DSM16 - Network Parameters
The Network Parameters page allows you to view/change the network configuration of the DSM16p.
To use the DSM16p on your LAN, you may need to change its network configuration to match the target network. You should update some or all of the following properties:
- IP address and subnet mask
- Host name
- Default gateway
- DNS server(s)
To change the IP address, subnet mask and DNS servers of the DSM16p, perform the following steps:
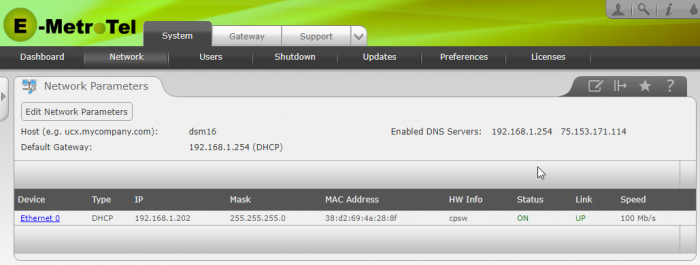
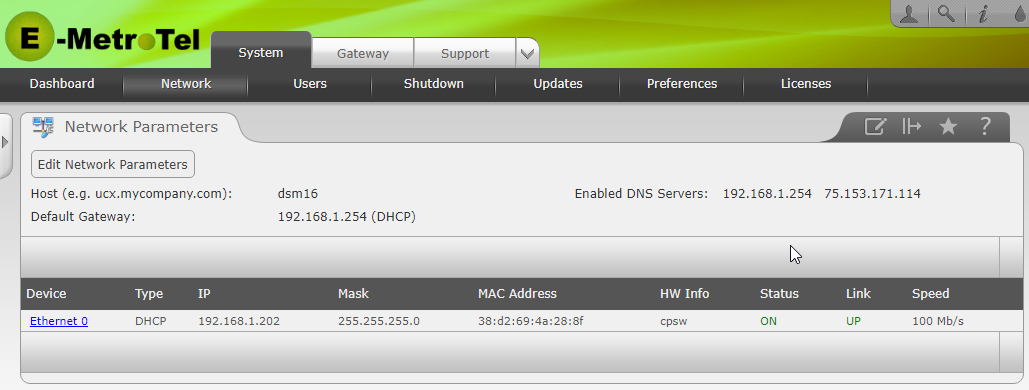
- Open the DSM16p Web-based Configuration Utility
- From the System tab, select Network
-
From the Device list, select Ethernet 0.
-
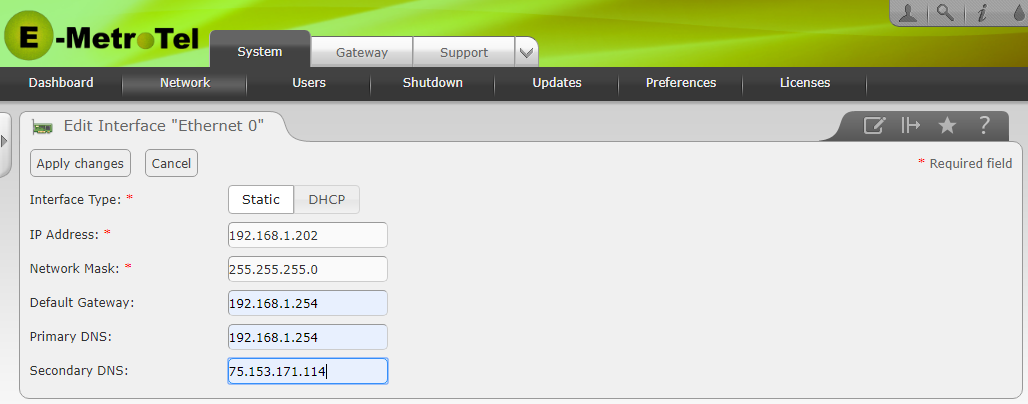
If you want the DSM16p to obtain its IP address dynamically from your DHCP server:
- Select the DHCP option (default setting, as above)
-
If you want the DSM16p to use a static IP address:
- Select the Static option
- Enter the IP Address (example above is 192.168.1.202)
- Enter the Network Mask (default is blank, example above is 255.255.255.0)
- Enter the Primary DNS (default is blank, example above is 192.168.1.254) - If your router can relay DNS requests, specify the IP address of your router in the Primary DNS field. Otherwise, enter the IP address of your preferred DNS server (eg. 8.8.8.8 for the Google DNS server)
- Optionally enter the Secondary DNS
- Press the Apply Changes button
- Confirm that you want to change the network parameters. If you changed the IP address of the interface while using the same interface to access the Web-based Configuration Utility, you must reopen the page using the new IP address.
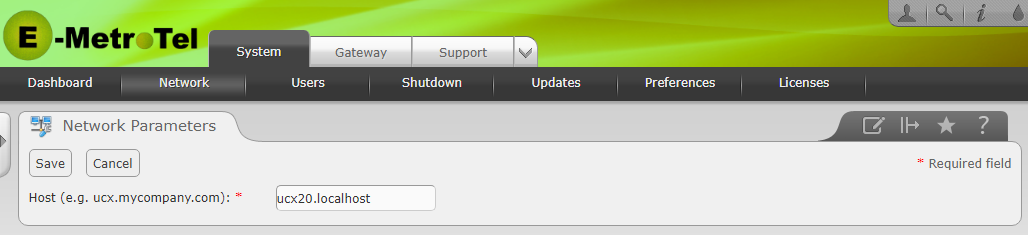
To change the host name and the default gateway, perform the following steps:
- Open the DSM16p Web-based Configuration Utility
- From the System tab, select Network
- Press the Edit Network Parameters button
- Enter a domain name for the DSM16p (e.g., UCXgw.emetrotel.org) - optional
- Press the Save button