6.0 Completing the Update to InfinityOne 4.0
Section Contents
6.0 Completing the Update to InfinityOne 4.0
6.1 Install the InfinityOne package on the UCX
After completing the previous section 5.0 Completing the Reimage to UCX 7.0 Process you are ready to install the InfinityOne package on the UCX 7.0 system.
-
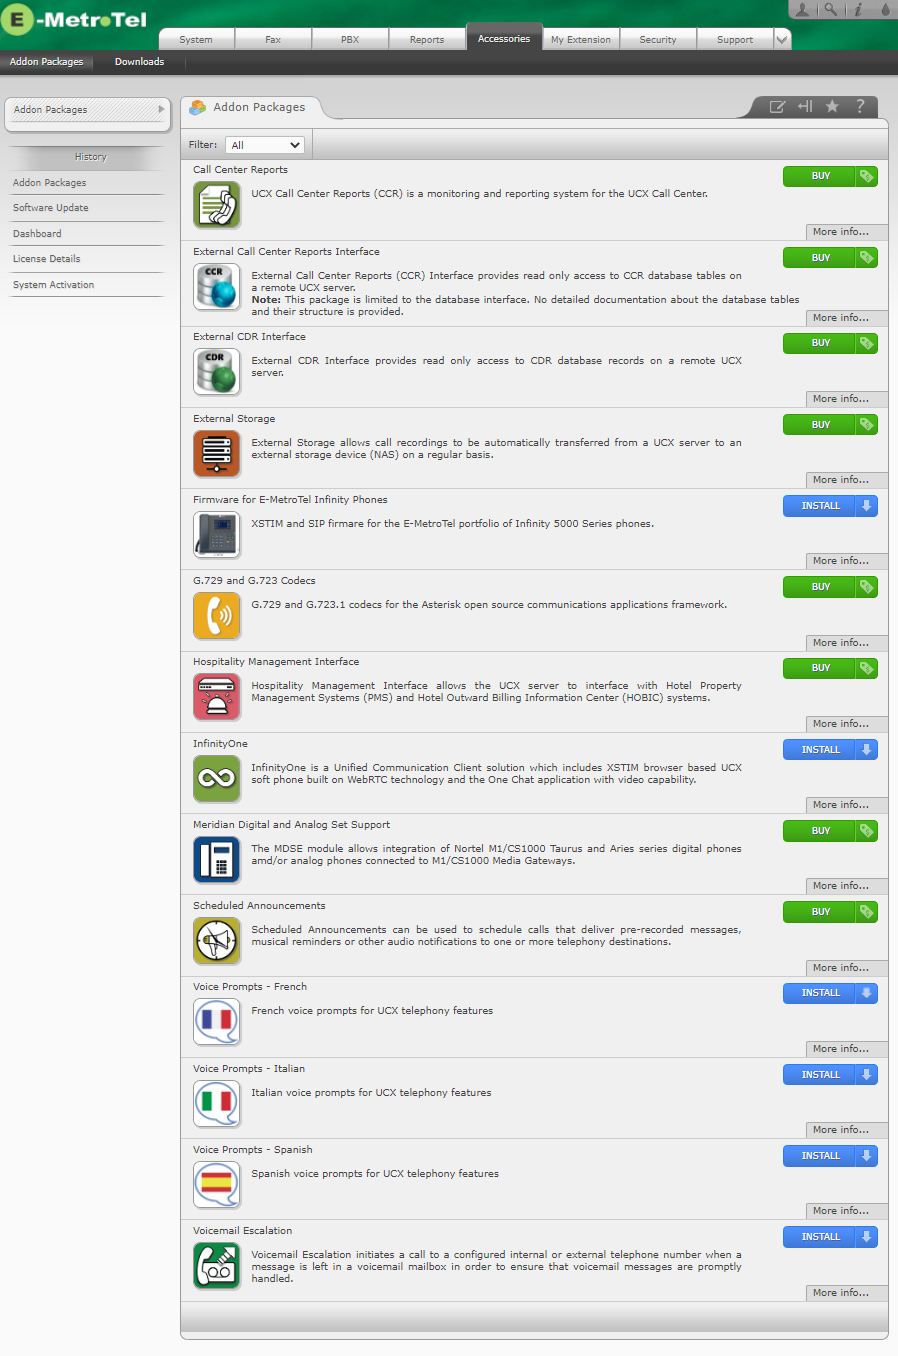
Navigate to the Accessories tab on the UCX

- Click on the blue Install button on the InfinityOne entry.
-
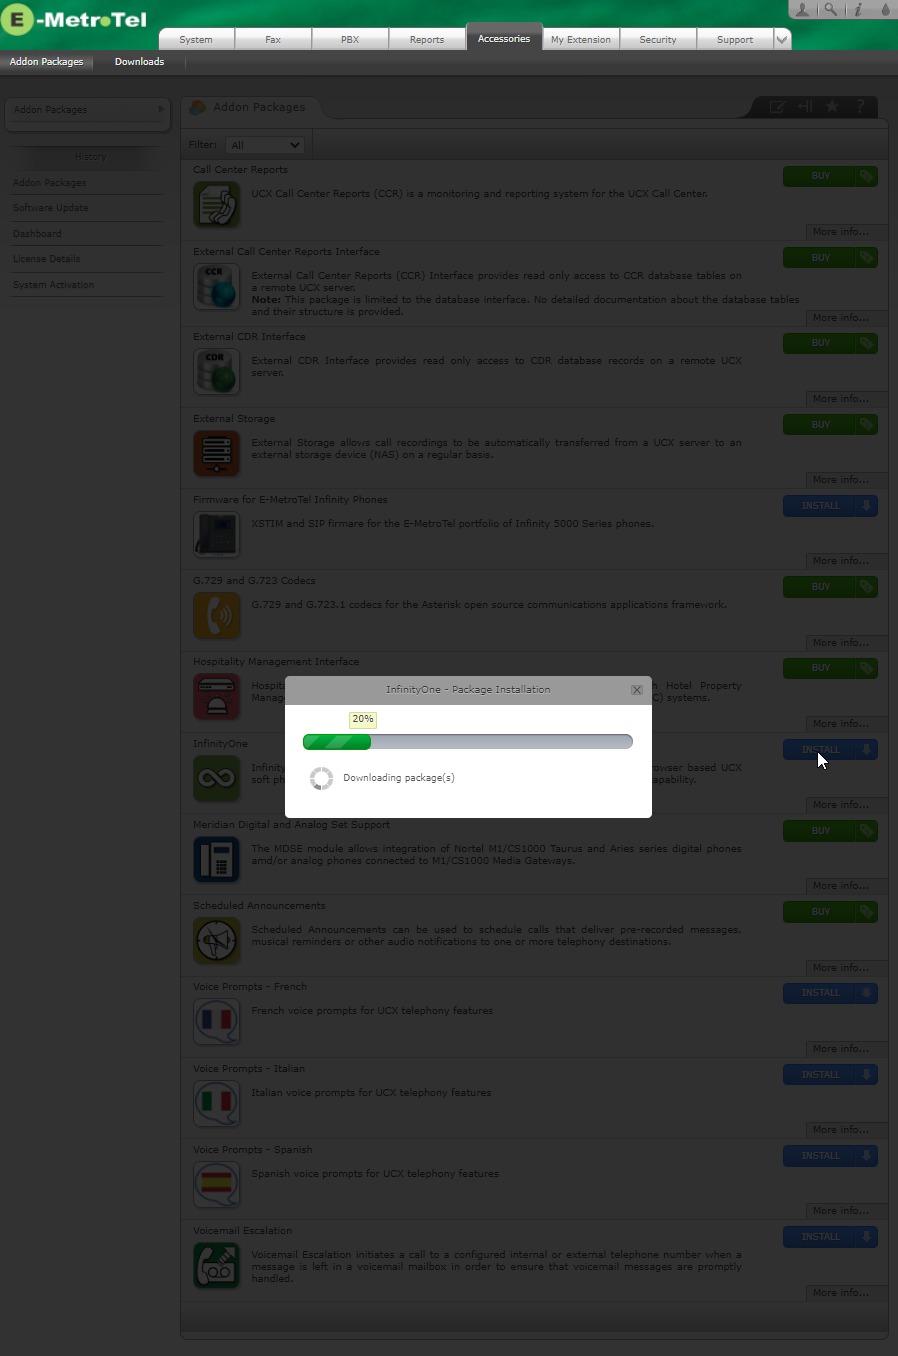
The UCX system will initiate the InfinityOne Package Installation

-
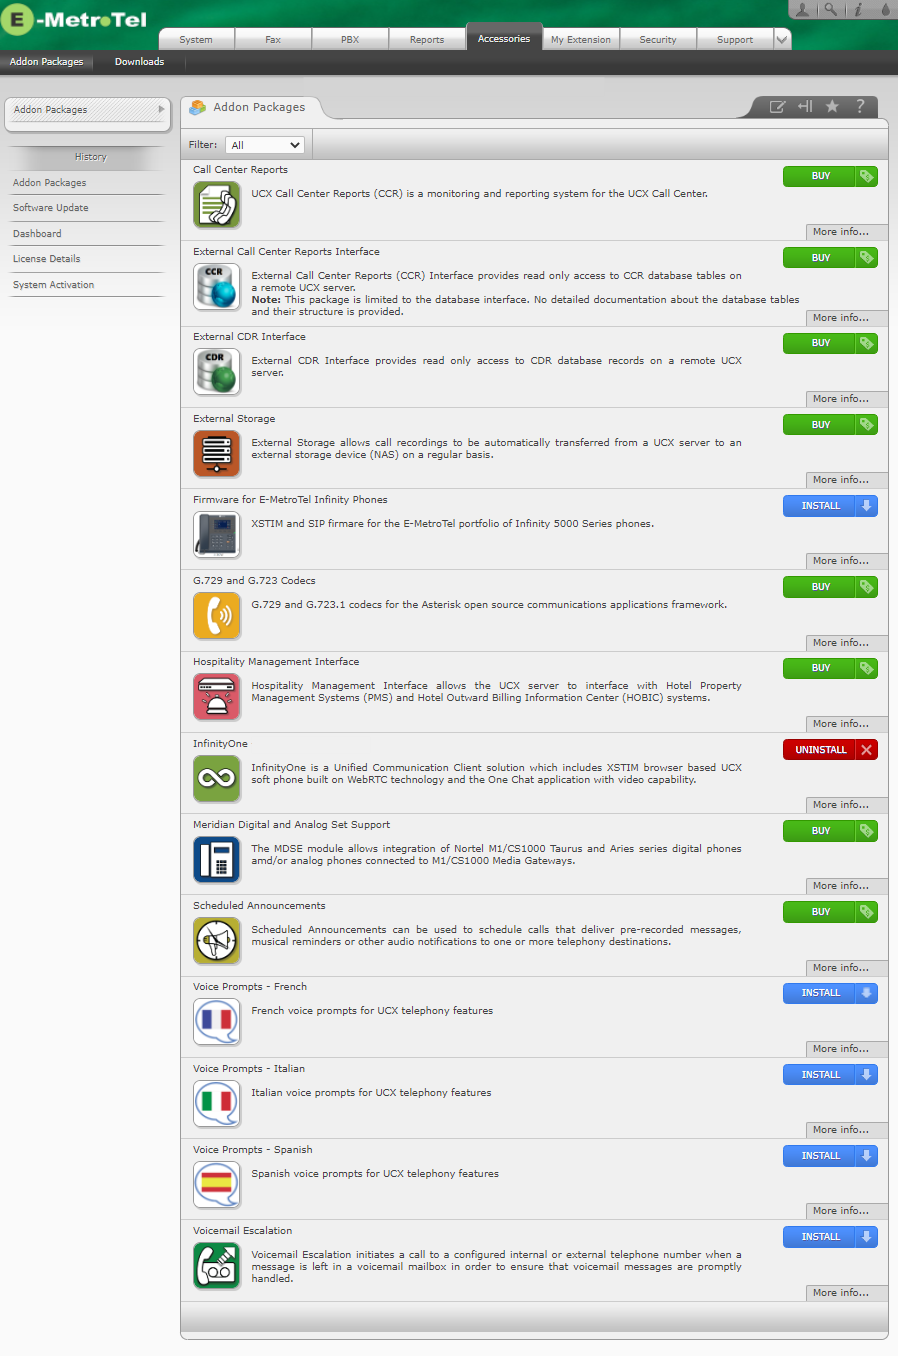
Once the package installation is complete, The button changes color to red and becomes an Uninstall button

At this point you are ready to restore the InfinityOne configuration backup file you downloaded after the final update of the InfinityOne 3.x system. This step is only used for restoring an existing InfinityOne configuration to a system running UCX 7.0 and InfinityOne 4.0. If you previously did not have InfinityOne installed on the system and do not have an existing InfinityOne backup file, see the InfinityOne documentation for a description of the full InfinityOne Setup Wizard and Backup and Restore process.
6.2 Use the InfinityOne Setup Wizard to Restore
In the following steps, you may connect to the InfinityOne Setup Wizard using either the local private IP address if connecting within the Customer internal LAN, the external public IP address or URL if connecting across the internet, or the E-MetroTel Remote Access address if connecting using the VPN, followed by :21326 to direct the connection to InfinityOne.
-
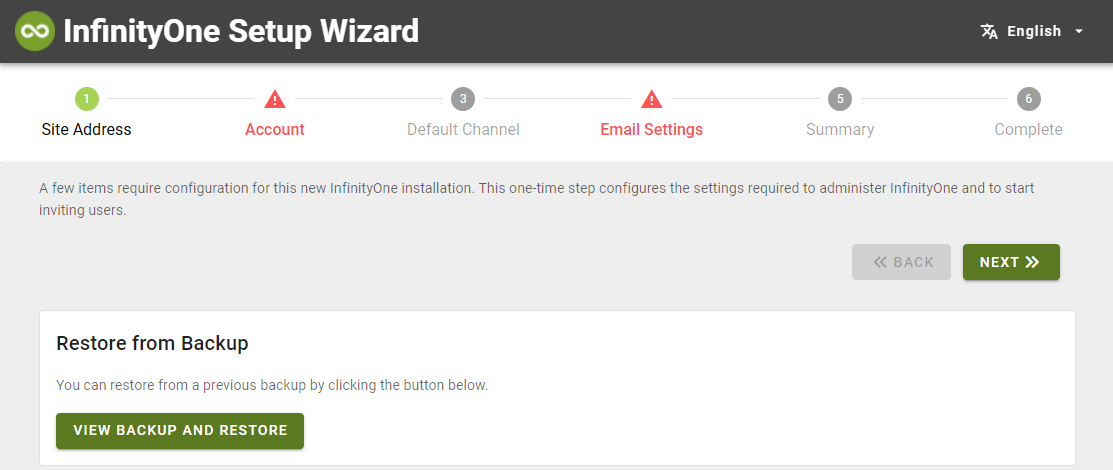
Open a browser connection to InfinityOne Setup Wizard (eg. https://192.168.1.200:21326)

- The InfinityOne Setup Wizard provides an option to use the traditional multi-step wizard process to configure the server from scratch, or to Restore from Backup. Click on Restore from Backup
-
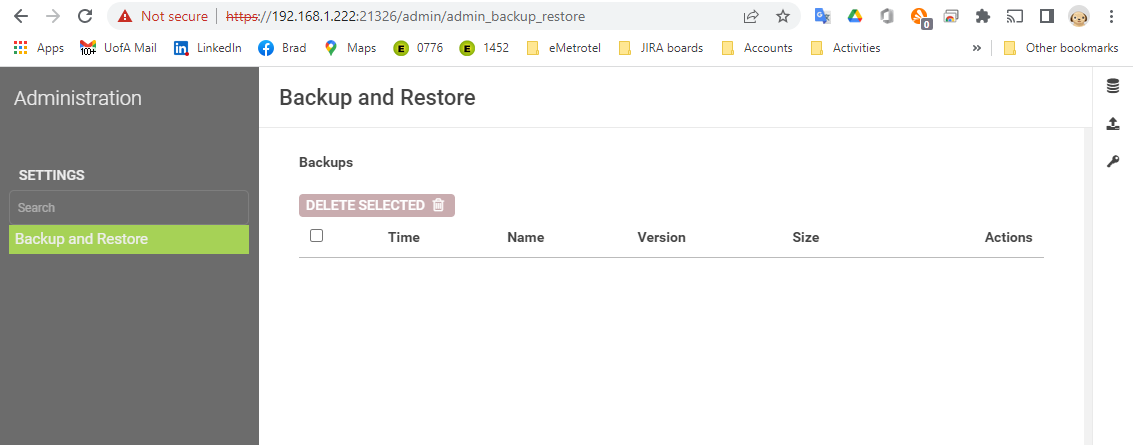
The InfinityOne Setup Wizard automatically opens the Administration / Backup and Restore page

-
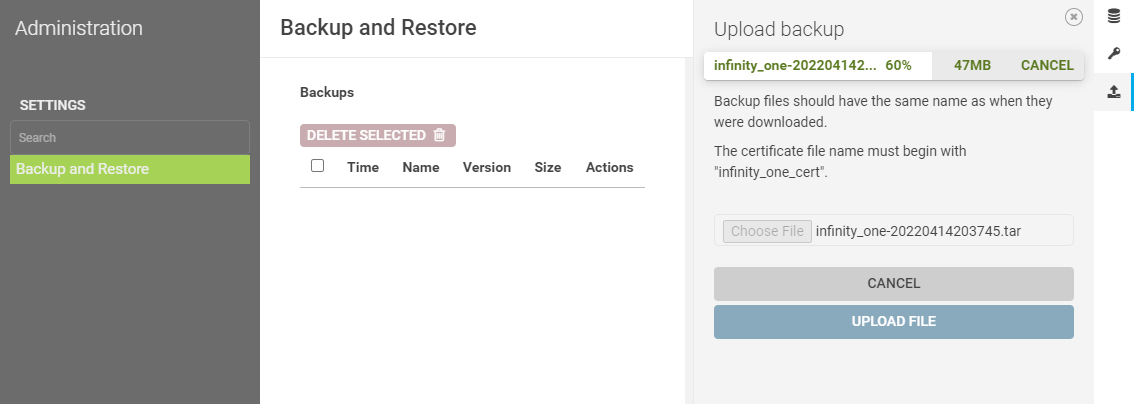
On the right hand Icon Menu, select the Upload icon


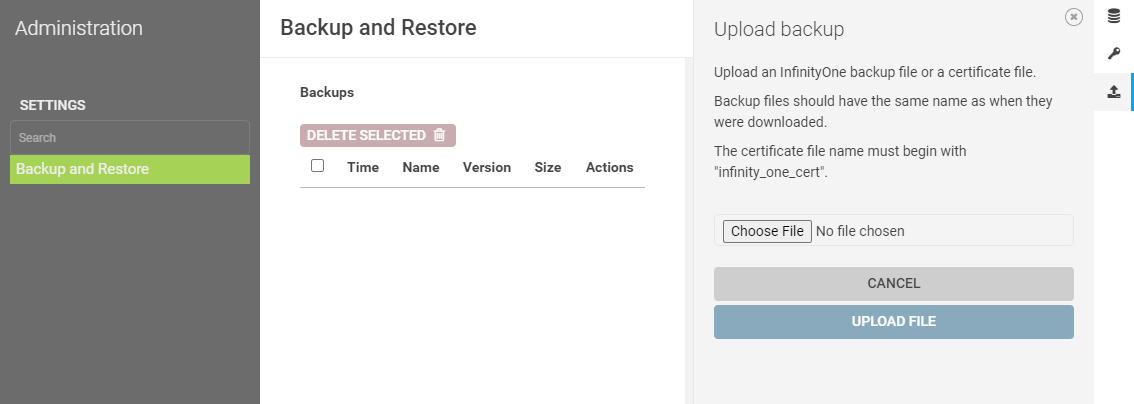
- If you have a separate file containing just the downloaded certificate file from the InfinityOne 3.2.3 system, the filename should start with infinity_one_cert and end with a .tgz suffix. Click the Choose File button, select it and then click the blue Upload File button.
-
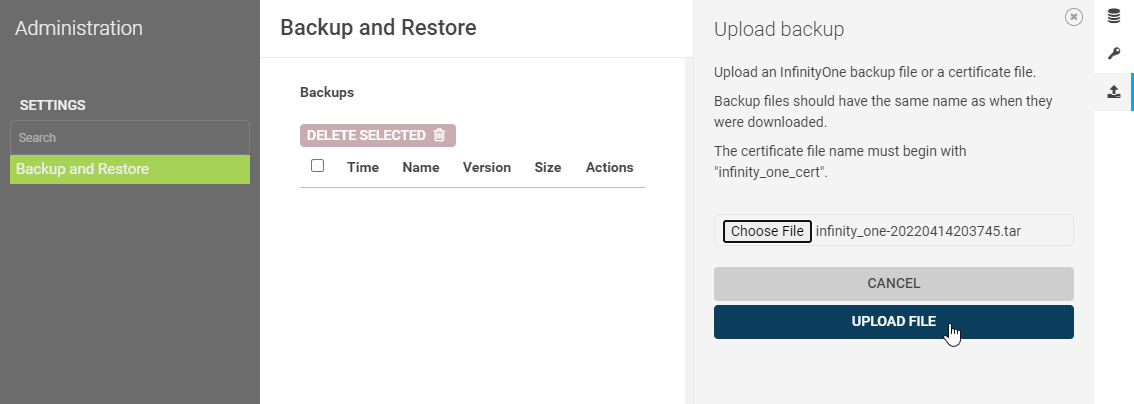
Once you have uploaded the certificate file, or if you only have a single file with both the configuration data and the certificate file the filename should start with infinity_one and end with a .tar suffix. Click on Choose File and select the InfinityOne backup file you created prior to using the UCX Imager Tool then click the blue Upload File button.

-
You will see a progress bar while the file is uploading

-
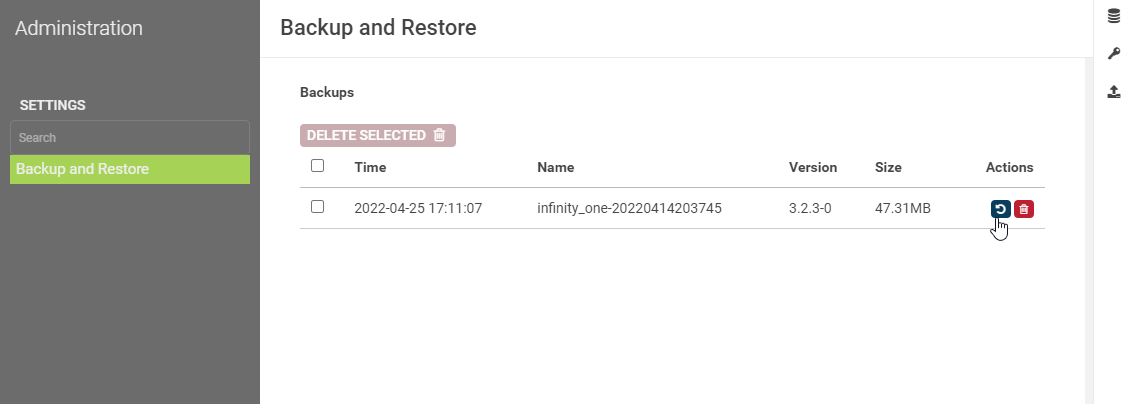
When the upload is complete you will see the file shown in the list of Backups
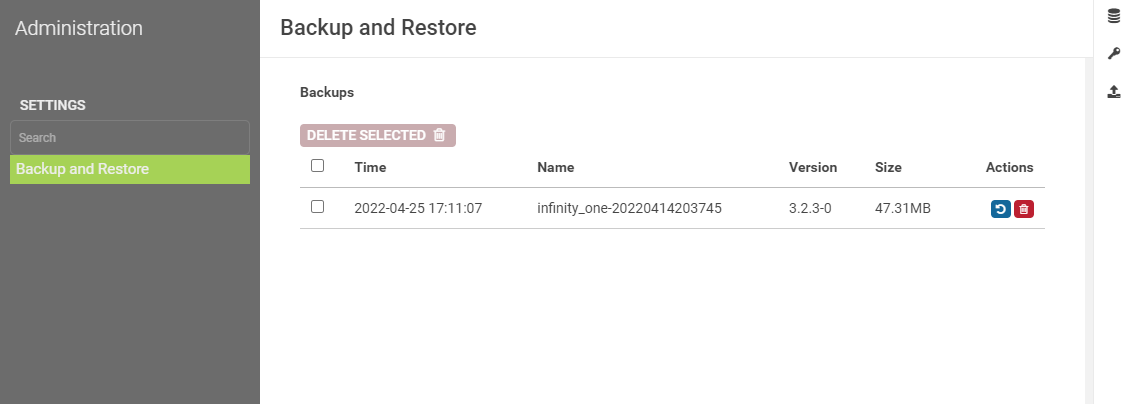
-
Click on the blue Restore icon
 to start the restore process.
-
Select the data types that you wish to restore and then click the blue Restore button.
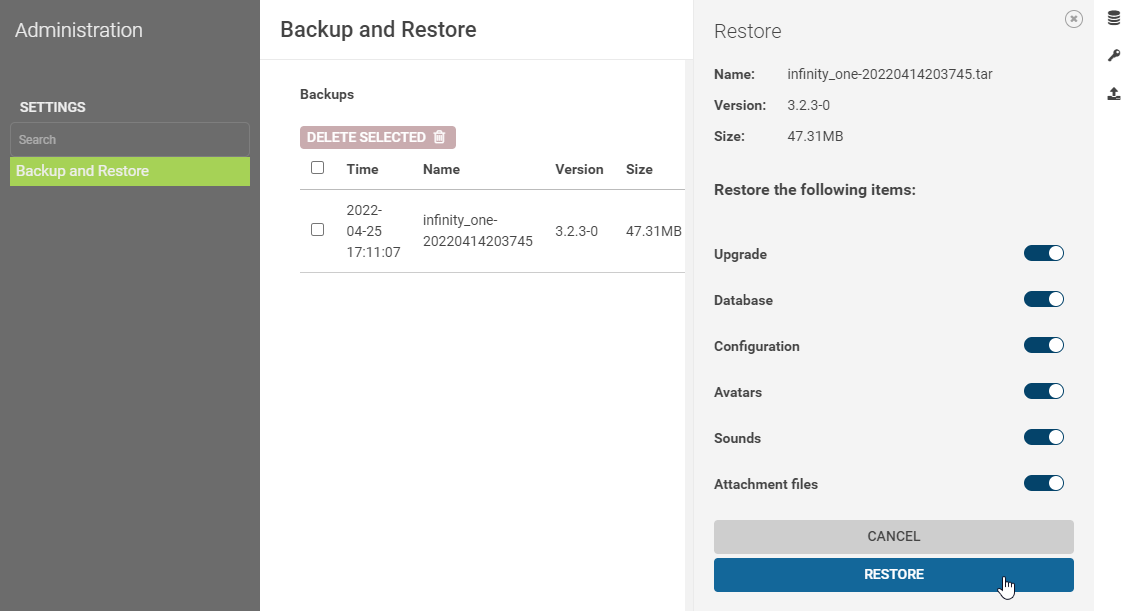
-
You will be prompted with a Restore Backup confirmation pop-up. Click Restore Backup
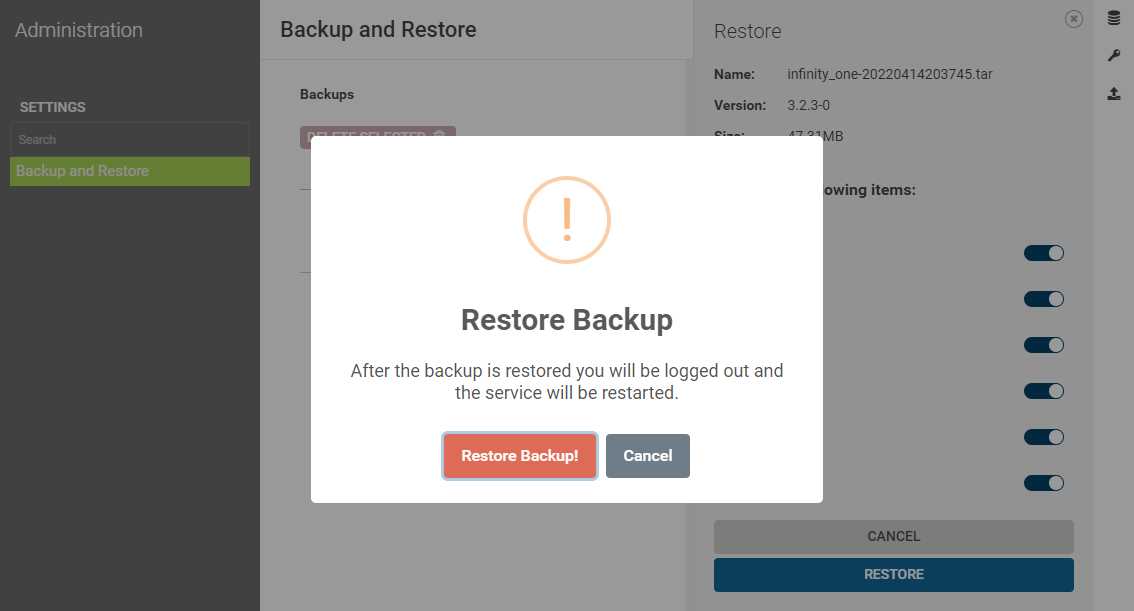
-
Once the Restore process complete you will see a notice that th e InfinityOne service is restarting
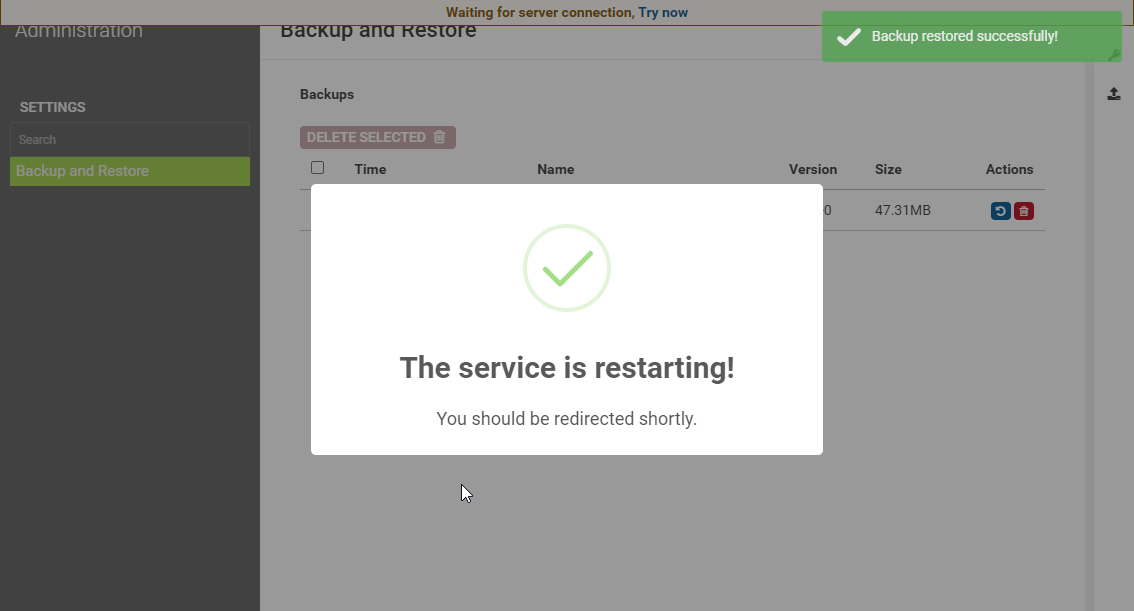
-
Once the Restart is complete you will be directed to the standard InfinityOne login window.
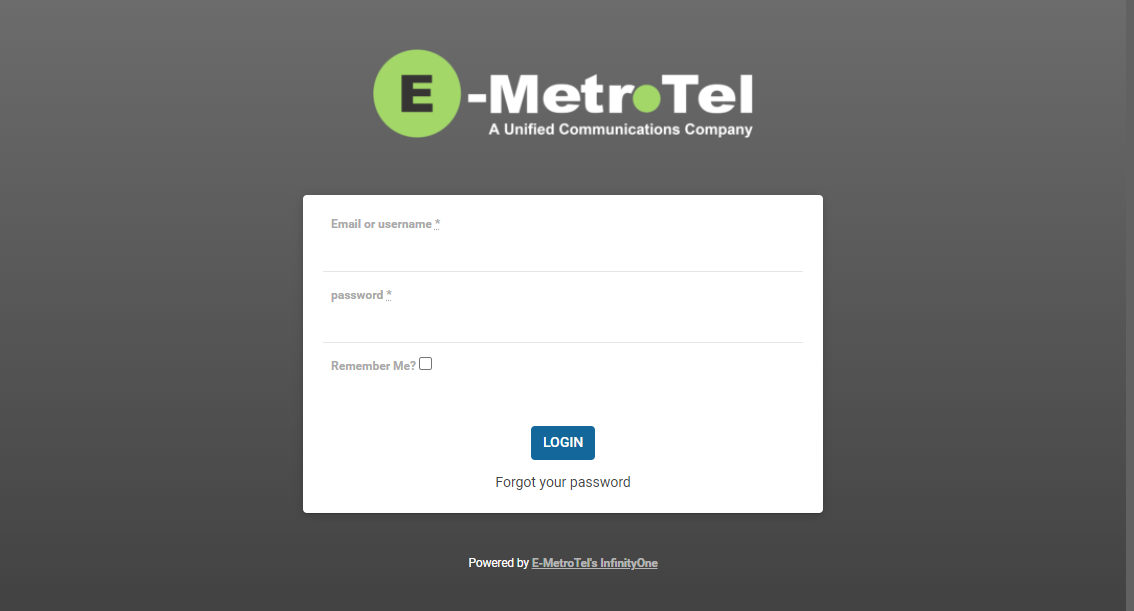
- Enter you existing credentials and log in to the InfinityOne 4.0 system.