2.0 Preparing to Reimage to UCX 7.0
Section Contents
2.0 Preparing to Reimage to UCX 7.0
Prior to using the Reimage to R7 process on your system, you MUST do the following:
2.1 Mandatory Preparation Steps On the UCX
- Update the existing UCX 6.0 (or UCX 5.0) software using the Software Update process to ensure that the system has the latest available functionality.(It must include freePBX version 2.11.3-66.)
-
After performing the software update, create a Backup of the current UCX 6.0 or UCX 5.0 configuration
- If your backup is less than 1.0 Gb in size, you can create the backup on the system hard drive and then click the newly created link download directly to your PC for later upload to UCX 7.0
- If your backup is larger than 1Gb in size you must create the backup directly to a USB (but not the Release 7.0 Imager USB device). Note that if the system contains an extremely large number of Call Recroding files, a full backup can require a very large sized USB. E-MetroTel recommends to purchase and configure the External Storage package in order to reduce the size of on-system stogare used for Call Recordings prior to reimaging.
- If you have installed and configured InfinityOne you must make sure that you are running the latest version (3.2.3-0).
- Create a Backup of the current InfinityOne configuration and download it to a USB drive.
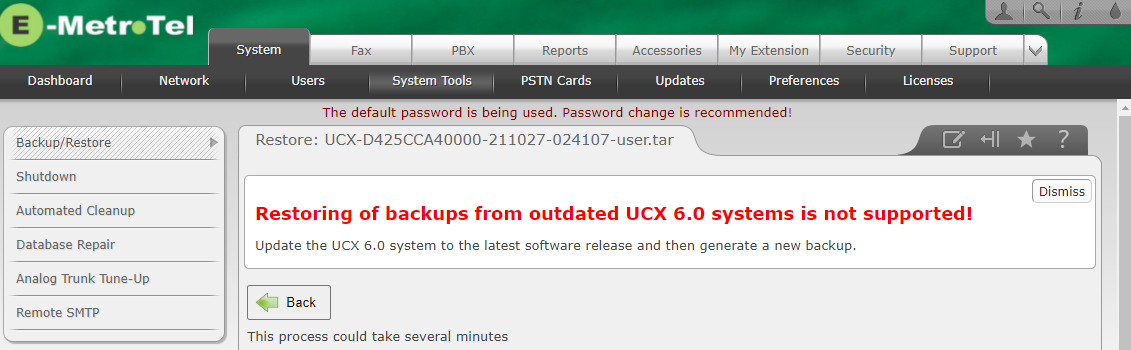
If you fail to update the UCX 6.0 or UCX 5.0 system prior to creating a fresh backup of the system configuration the newly installed UCX 7.0 software will reject the restore process as seen below:
2.2 Data to gather for post-update verification
Take note of the following information on your existing UCX 6.0 configuration:
- Navigate to System - Dashboard and take a screen shot of the Communication Activity applet to record the number of extensions and IP trunks configured.
- Navigate to Reports - Extensions Overview page.
- Click on Download and select a download format of your choice (CSV,Spreadsheet, PDF).
- Save the downloaded file in a convenient location for troubleshooting if one or more extensions fail to restore.
-
Take note of any installed Accessories as you will need to add these in the UCX 7.0 system prior to restoring the backup configuration

-
Take note of any Static Routes that are configured for this system
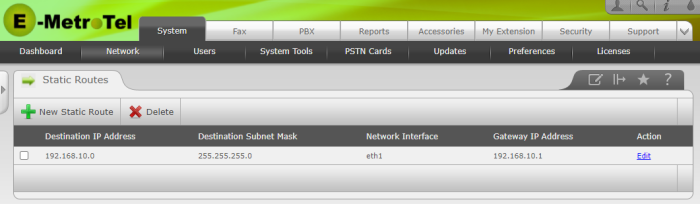
-
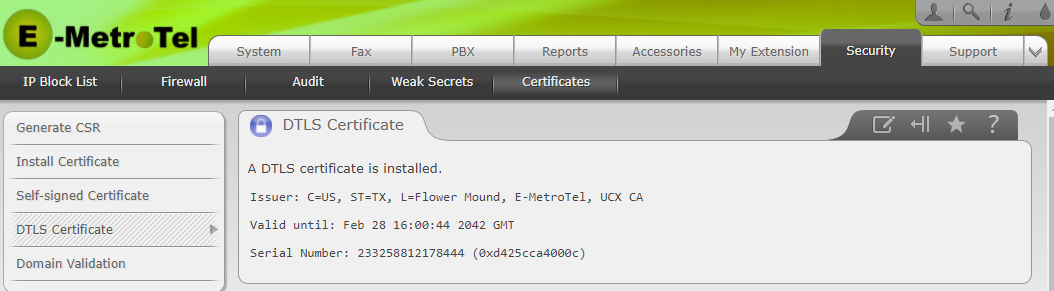
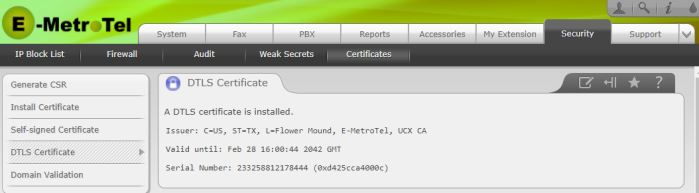
Take note of whether there is a DTLS certificate generated for this system
- Check to see if DHCP Server is configured. If it is, take a screen shot or make note of the DHCP Server and DHCP Bindings configuration.
- Take note of whether Connection Sharing is configured. If it is, take note of the default gateway.